
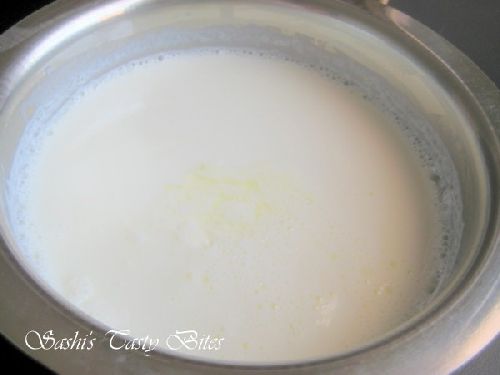
Making curd at home can vary from one household to another. After trying different methods, I found this simple approach works well for making homemade curd in the U.S., especially when the room temperature is cooler.
With just milk and a small amount of plain curd as the starter, you can make fresh, thick thayir at home. Whole milk gives the richest result, though I have also had good results using 2% milk.
How to Make Curd at Home / Homemade Thayir
Recipe Details
Homemade Basic / Dairy
Indian
Sashi
10 minutes
Up to 12 hours
About 12 hours 10 minutes
2
Ingredients
- Milk – 2 cups
- Plain curd / yogurt with live active cultures – 1 tsp
Preparation
- Pour the milk into a clean saucepan and bring it to a boil.
- Remove from the heat and allow the milk to cool until it is comfortably warm but not hot.
- If using a thermometer, the milk should be around 105–115°F (40–46°C) before adding the starter.
- Add 1 teaspoon plain curd or yogurt with live active cultures.
- Mix gently until the starter is evenly distributed through the milk.
Setting the Curd
- Cover the container and keep it undisturbed in a warm, draft-free place.
- During cooler weather, an oven with only the oven light switched on can provide a gently warm environment. A low-temperature proof setting can also be used if available.
- Allow the curd to set for several hours or overnight. Depending on the temperature and strength of the starter, it may be ready before 12 hours.
- Check once the curd looks firm and set rather than liquid.
- Once set, transfer it to the refrigerator promptly to slow further fermentation and souring.
- Chill for a few hours for a firmer texture before serving.
Tips
Starter Curd: Use fresh, plain curd or yogurt that contains live active cultures. Indian-style or desi curd works very well as a starter.
Milk Temperature: Do not add the starter while the milk is very hot, as excessive heat can damage the cultures needed to set the curd.
Whole Milk: Whole milk generally gives the thickest and creamiest curd. I have also had good results using 2% milk.
Starter Quantity: A small amount of starter is enough for 2 cups milk. Adding substantially more is unnecessary and can affect the final texture and flavor.
Cool Weather: Homemade curd may take longer to set during winter. Keep it gently warm rather than heating it directly.
Storage: Once the curd has set, refrigerate it promptly in a clean, covered container. Keeping it warm after it has set will allow it to continue fermenting and become increasingly sour.
Serving Suggestion
Serve homemade curd with rice, use it for curd rice, raita, mor kuzhambu, lassi, or enjoy it plain with your favorite meal.






Leave a Reply